Personally, I like to stow my knitting needles in a pencil case along with a few pens and pencils. I use interchangeable needles, so I take the needles off the cables and stick them with pencils. (I also bring a small notebook for sketches and note-taking despite the electronic age in which we live).
I couldn't find my pencil case, not remembering the last time I used it, so I opted to make another. A pencil case is just single rectangle folded over with a closure (either buttons, zippers, or cord). It took me about 15 minutes to finish this project.
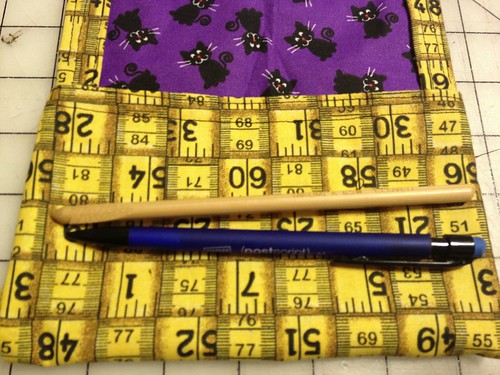
1. I took a pencil and crochet hook and measured it out -- 6 inches or ~ 15cm long. I would need fabric at least 7 inches wide (assuming a 1/2 inch (~1.25 cm) seam allowance).

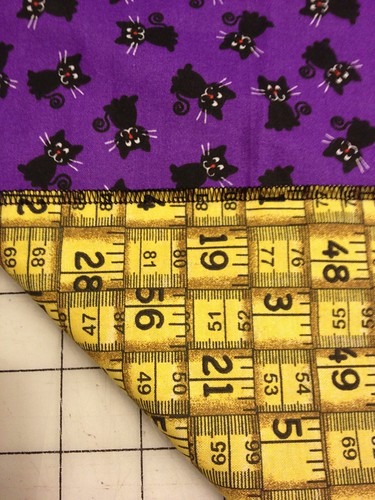
2. I found some left over fabric when I was making my ditty bags for the holidays. I trimmed it to 7" x 12".
I serged them wrong sides together into a single piece. (Make your pencil case as big as you want.)
- If you don't have a serger, you can baste it together OR
- Sew the pieces right sides together along three sides and turn it right-side out and then sew shut the open side. Make sure to press all seams.
- (I like using the serger in this manner because it's one less step for me to take.)
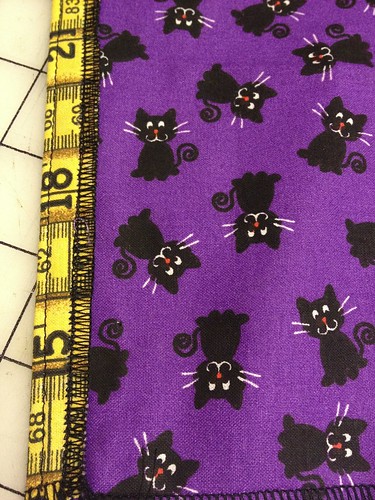
3. Fold over 1/2 inch (1.25cm) and sew along all other edges.
4. Right sides together, fold over and sew down approximately 3.5 inches (~8.9cm) to form a pouch with a 1/2 inch (1.25cm) seam allowance.
5. If necessary, clip the edges.

6. Turn right-side out. It should be long enough to hold several pencils, pens, and knitting needles.
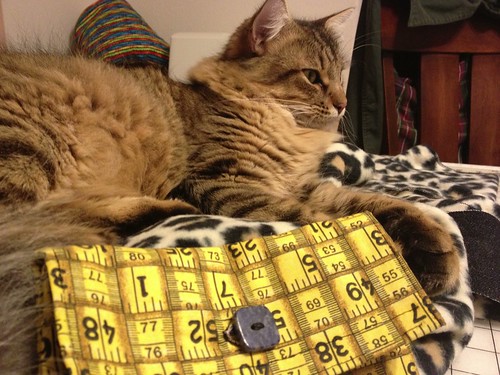
7. Add a closure of your choice. I used a button, but you can also use elastic or a cord closure.
(Sammy with the finished case)
Enjoy the trip!
No comments:
Post a Comment