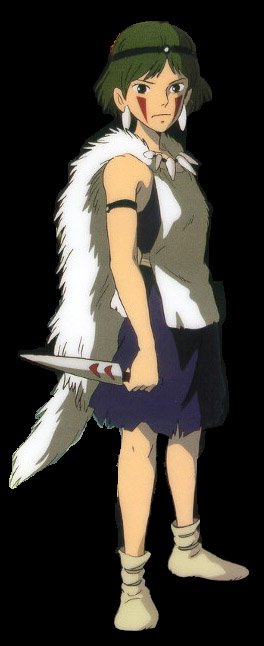
- The blue dress
- The white apron
- The white fur cloak.
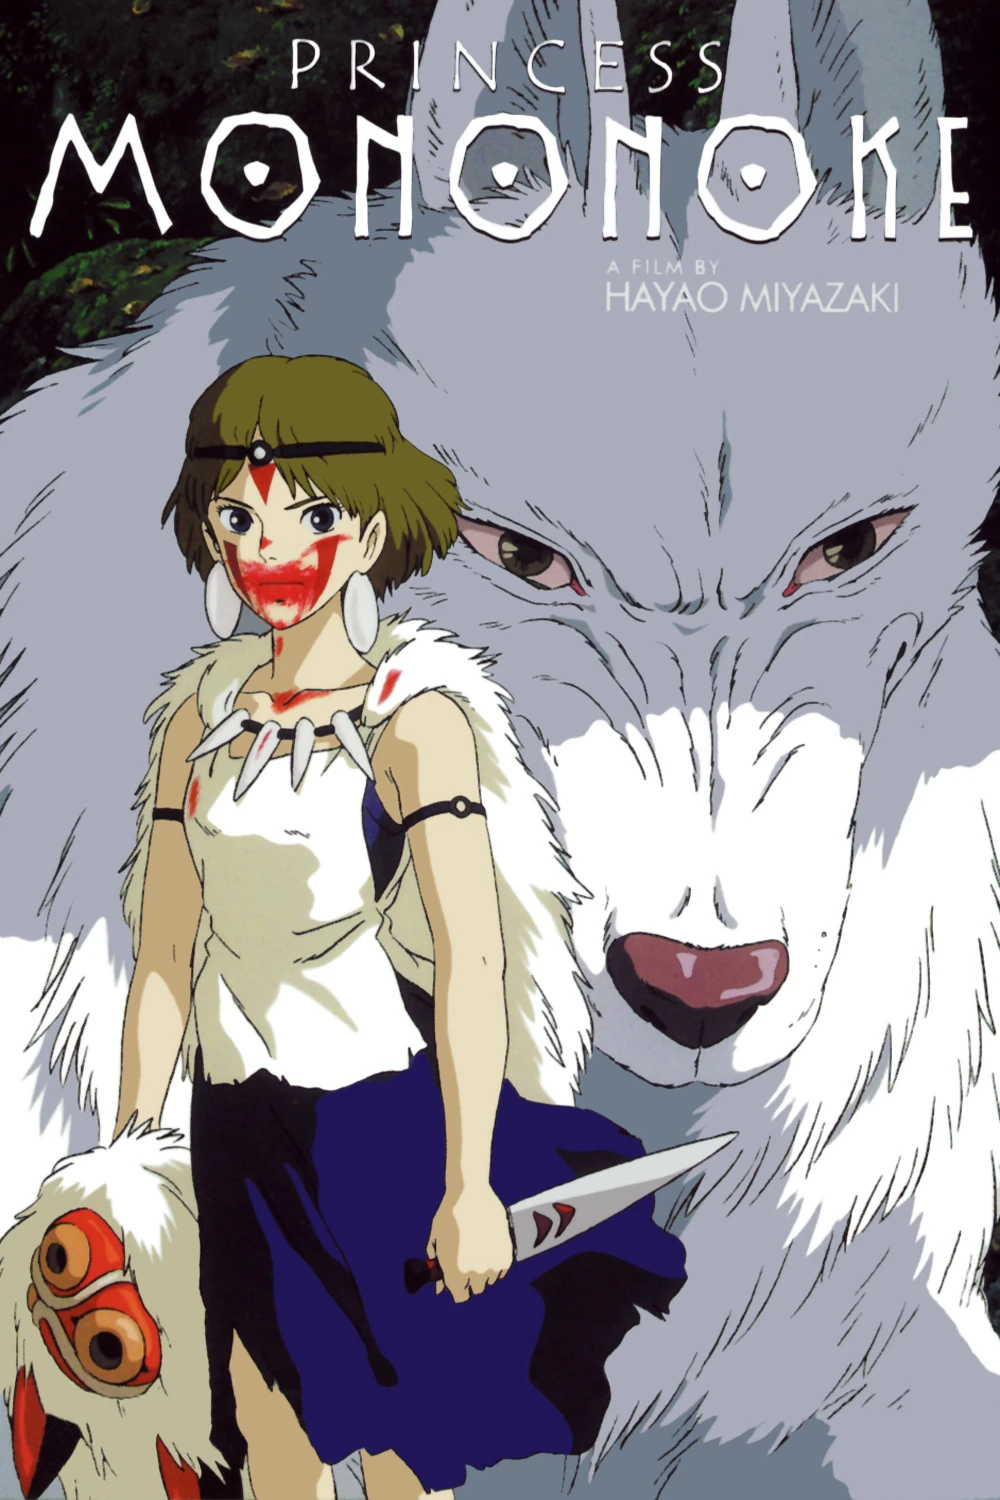
You can find a complete dress diary for this cosplay here, including all of the accessories.
Blue Dress
I used McCalls M6957 to create the dress. The pattern was very easy to make and the first mock-up fit nearly perfectly with only a few minor tweaks to the armscye.

It turned out fairly well, and very comfortable to wear. I chose a dark blue knit jersey. I'll probably end up wearing this dress during the summer with a nice shawl.

Apron
For the "apron", I draped and drafted it out on Esme, my dress dummy.

I had imagined the white apron to be a leather of somesort, maybe doe-skin, but I didn't want the cost. Consequently, I used suedeclothe instead.

Because there's some inconsistencies on how the apron is drawn, I opted to go with a "tab" closure on the apron.
As a finishing touch, I used a leather stitch "X" to attach the tabs to the sides of the dress

Fur Cloak
For the fur cloak, I just didn't want plain white fur, because, outside of arctic or albino wolves, no wolf has complete white fur. Plus, there are photography issues when you have bright white fur.
I checked around all of my local fabric stores and ended up buying the fur cloak online from Fabric.com. I found fur that was labeled "Husky" (as the dog), and really liked it. The fabric arrived in plenty of time. The fur is white with dark fur bits running through it.

There are two important things you need for cutting fur is a marker (or pencil) and a utility knife (not scissors) You draw out the shape you want, then use the utility knife to score and cut the fabric along the lines.

First, I sketched out the shape of a wolf hide. Here's the haunches and where I'd attach the tail

I cut the tail separately, although on hindsight, I could have just cut everything in one piece. The tail is attached to the cloak after.

I sewed bits of the tail to the inside to simulate curling.

Here's the cloak just pinned to the rest of the outfit.

Here's the back with the attached tail

Fake fur tends to lay flat without any movement. I added some tacks to the inside so that it would look better when worn as a cloak. Here are BEFORE the tacks (left) and AFTER adding the tacks (right)


- Go here for the complete making of the outfit.
No comments:
Post a Comment